Does your dog stiffen, cower, or hide when you bring out their harness? Harness fear is something I commonly see with clients dogs and also experienced with my own dog Neirah. It IS possible to help your dog overcome that fear though.
I understand first-hand how stressful harness fear can be for both the dog AND you. Nothing ruins a walk faster than feeling like you’re traumatizing your dog before you even leave the house!
Want your dog to excitedly run TOWARDS you when they see the harness rather than hiding under the bed or cowering in a corner?
Getting your dog over their harness fear is VERY possible with a couple weeks of harness conditioning!
In this blog I’m going to walk you through a step-by-step guide for harness conditioning. If you’re introducing the harness for the first time, you can quickly complete these steps! However, if your dog already has an established fear of their harness these steps may take a couple weeks.
If you prefer video tutorials instead, watch this:
Regardless of the reason that your dog dislikes their harness, I’m confident that these steps will work! These are the exact steps that I personally followed with my dog and have had many clients complete in the past. They work!
Every dog is different so during each step I’m going to tell you how you’ll know when your dog is ready to progress. It’s very important that you go at your dog’s pace!
We’re going to use treats to build a new conditioned emotional response, so make sure that you’re using something that’s very high value to your dog. The analogy that I like to give my clients is that I’m terrified of spiders, but if ten dollars fell from the sky every time I saw one eventually I’d be happy to spot a spider.

Likewise, we can use treats to change your dog’s harness fear!
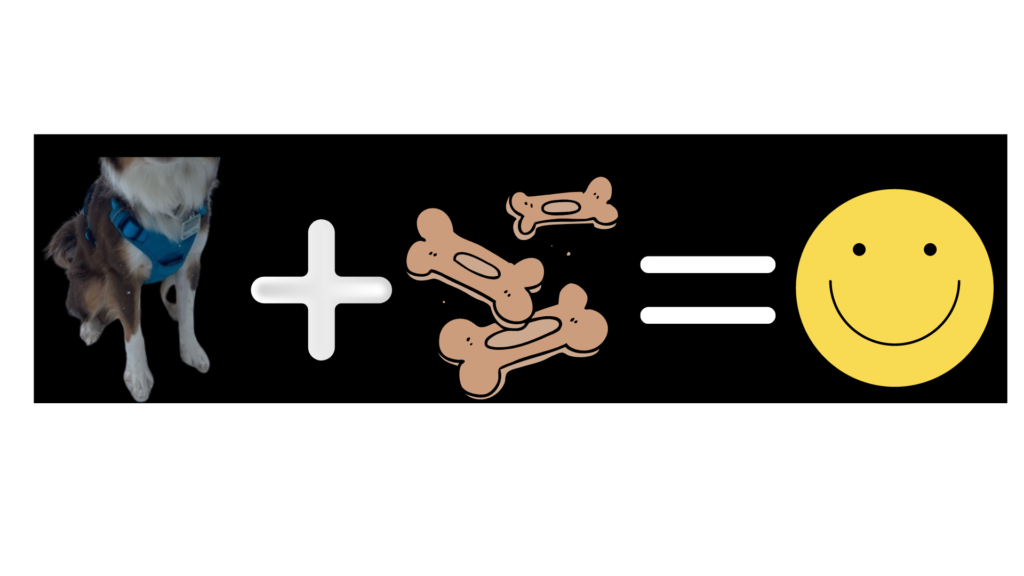
For this harness conditioning you’re going to need:
- High value dog treats
- Either a loaded clicker or a loaded marker word.
If those terms are new to you, click the links to learn more!
How to condition a harness & fix harness fear:
Step 1: Lured harness approaches
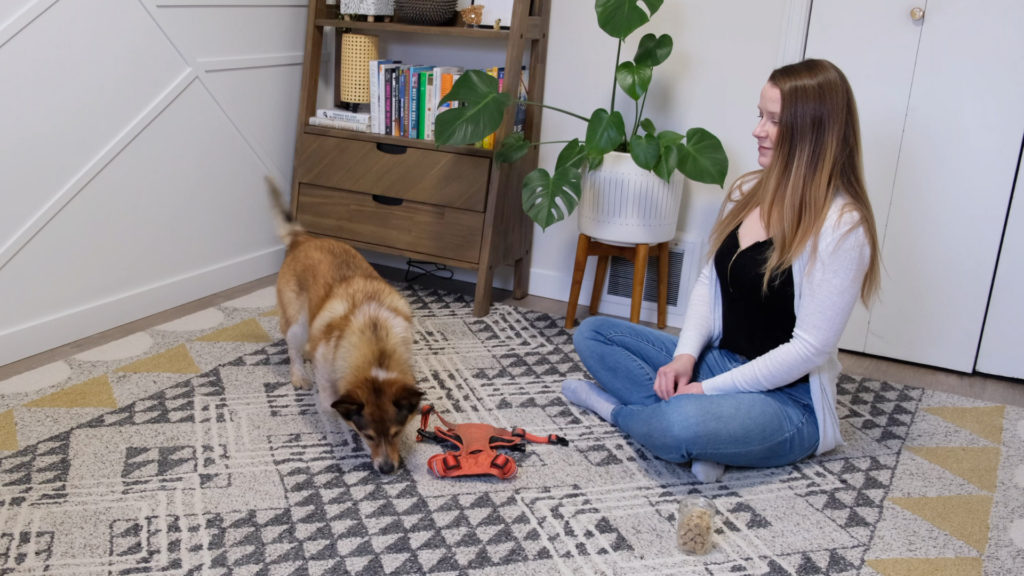
Put the harness on the ground in front of you. Without verbally encouraging your dog, toss a treat on or near the harness for them to get, then one farther away to give your dog a break. If your dog is stressed you’ll likely see them hesitate to approach the harness or they’ll have a really long spine because they’re stretching for the treat but trying to keep their body farther away. You want to see no hesitation in approaching the harness before you move to step two!
Note: when you’re ready to progress through the steps, I still want you to do a few repetitions of each step that your dog has already mastered. So, if you’re ready for step two, still start with a few repetitions of step one as a warm-up. If you’re worried about giving too many treats you can use your dog’s kibble for the steps that they’ve already mastered and save the high value treats for the step that they’re currently working on!
Step 2: Any harness interaction WITHOUT using a treat lure
This time we want our dog to interact with the harness without that treat lure. Place the harness on the ground and say nothing. To start, mark & reward when your dog even glances at the harness. After that, slowly increase the criteria so that your dog has to slowly move towards and eventually touch or sniff the harness.
Make sure that you’re seeing no hesitation or body rigidity before you progress to step three!
(This is the step clients dogs have struggled with the most, so it’s ok if you need to spend a full week or so here getting your dog totally comfortable!)
Step 3: In-hand harness approach
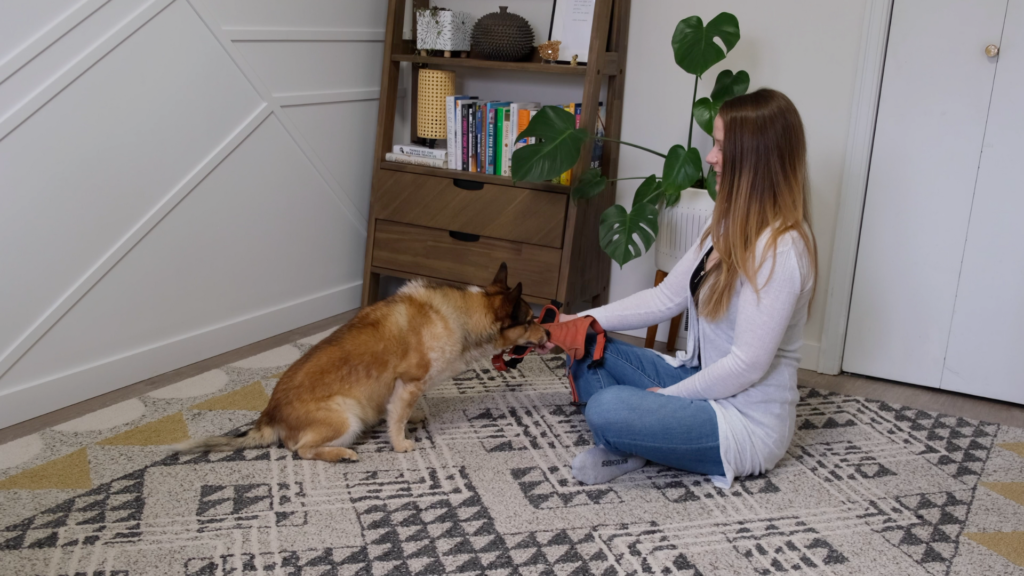
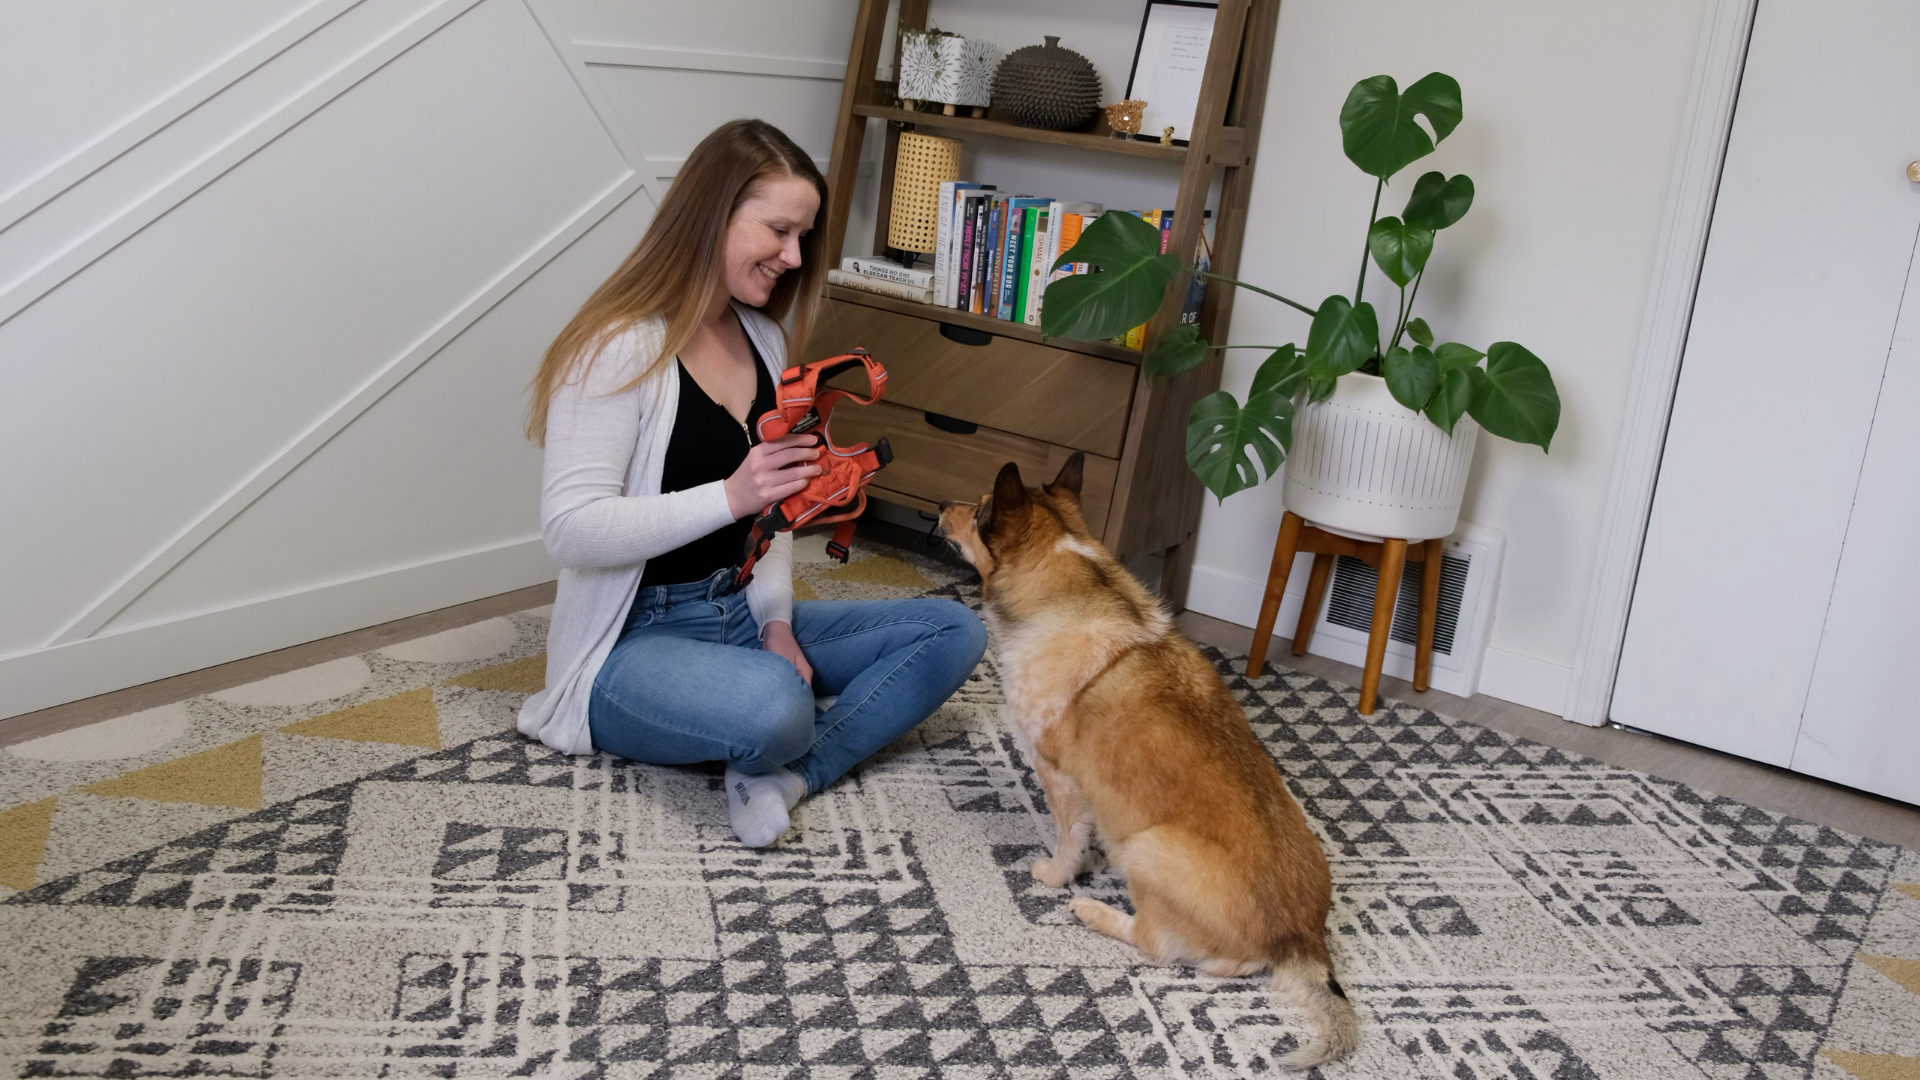
Next, hold the harness out to your dog and mark & reward any interaction such as looking at it or sniffing.
If your dog backs up at all, turns their head away from the harness, or if they have whale eye where you can see the whites of their eye, I want you to instead hold the harness stationary to start. I like to have the dog totally comfortable approaching the harness with arm extension before moving to step four. The arm extension imitates real life where you will need to move your arms while putting the harness on your dog. We want them to be ok with that!
Step 4: Sound conditioning
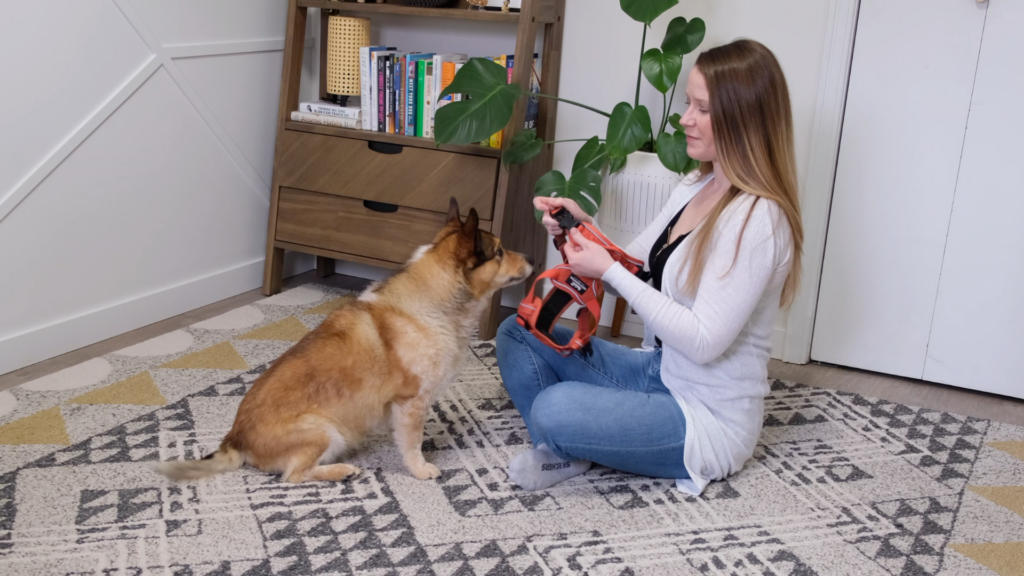
Sound conditioning was the longest step with my dog since she’s incredibly sound sensitive! If your dog isn’t, you may be able to complete a couple reps of this step then progress on.
Have your dog in front of you and buckle the harness so that it makes noise (without the harness touching your dog). If you see your dog lick lip, yawn, or look away the sound is stressful for them! Condition the buckle noise by marking yes and giving a treat immediately after they hear it. Stay on this step until you stop seeing any fearful reaction!
Training break!
If you’re looking for a new harness, check out Rocky Mountain Dog! I personally use a Rocky harness with my dog.
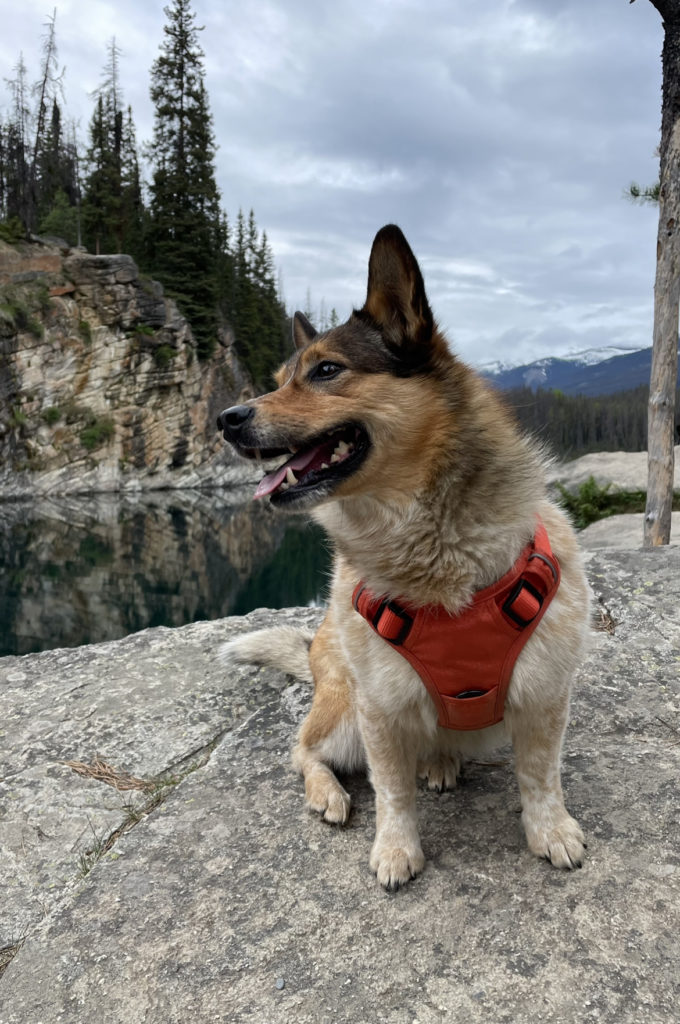
I love them because they fit well, they’re multi-adjustable, and they have a front clip which is really helpful if you’re still trying to teach your dog to walk nicely on leash 😉
I’m going to link them HERE if you want to take a look. Use code HAPPYHOUNDS for 10% off your order!
Step 5: Lure their nose through the harness
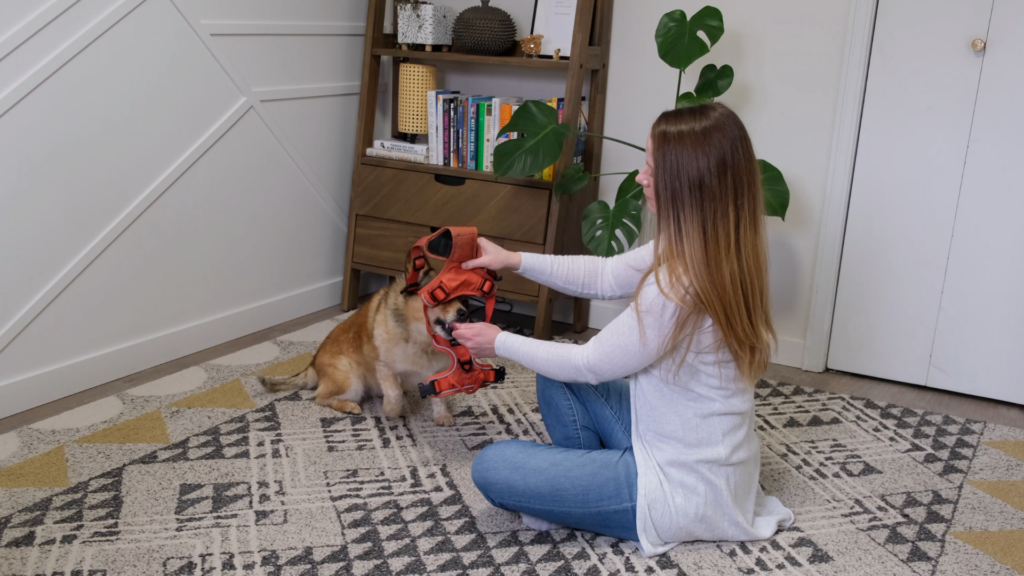
Have a few treats in your hand and use one to lure your dog’s nose through the harness loop. Make sure that your dog inserts their OWN nose rather than you moving the harness towards them.
Feed a couple treats to keep them there, then remove the harness.
Repeat this until you see no hesitation from your dog about sticking their nose through!
Step 6: Lure their whole head through the harness
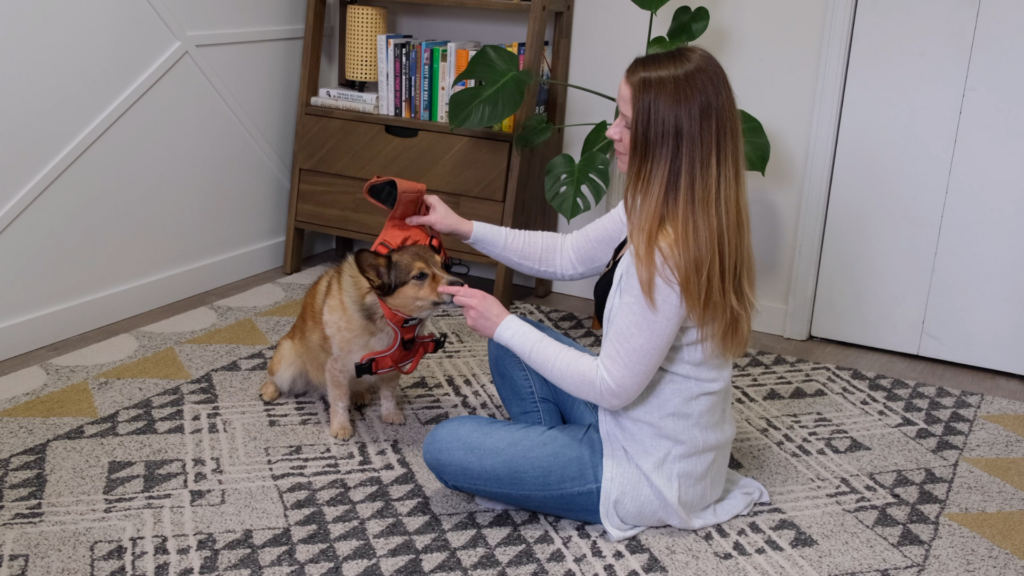
We’re going to repeat the same steps as step five, but this time your dog needs to put their whole head through. Lure them through, feed a couple treats while they’re there, then remove the harness again.
Repeat this until you’re again seeing no hesitation from your dog!
Step 7: Rest the harness on their back unclipped
This time I want you to lure your dog’s head through the harness, then rest the harness on their back. Leave it there for a few seconds while either continuously giving treats or intermittently marking & rewarding, then remove the harness.
Repeat this step until your dog doesn’t appear rigid or bothered by it resting on their back. We’re getting them used to the sensation of the harness touching them!
Step 8: Buckle the harness
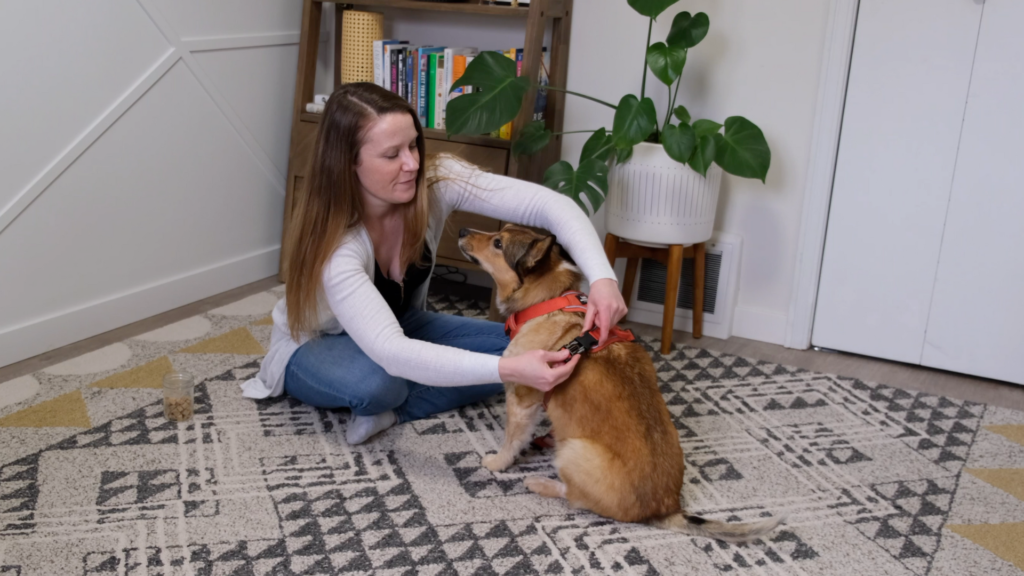
This time, again lure their head through and rest the harness on their back but ALSO buckle it up.
Give them a treat for inserting their head, then one after each buckle, then remove the harness. Repeat until your dog seems relaxed.
Step 9: Wearing the harness makes awesome things happen!
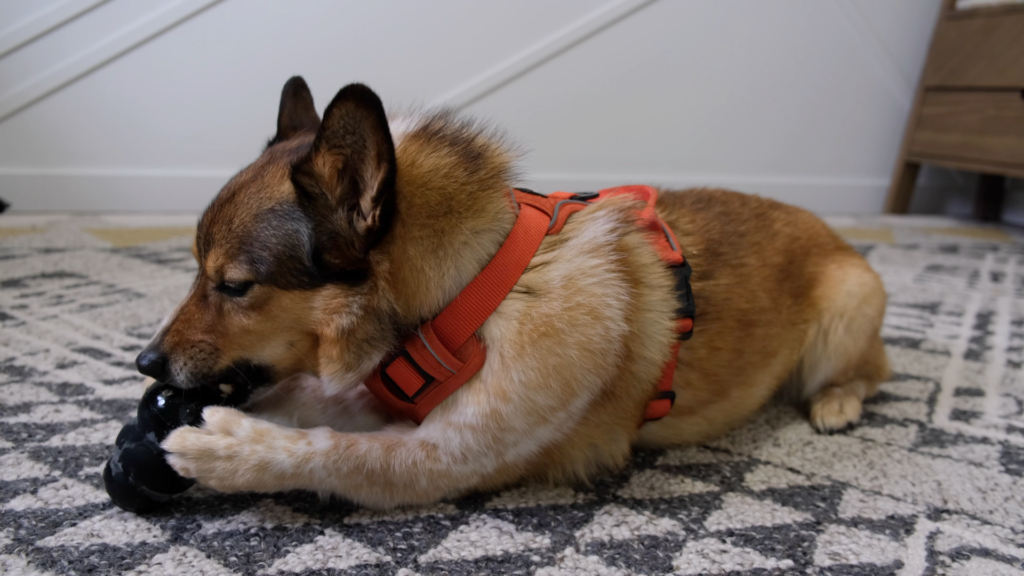
This step is really important and often missed.
Once you can comfortably put the harness on your dog we also want to show them that wearing it is great. The easiest way to do this is to give them a long lasting treat like a bully stick or a stuffed & frozen Kong while they wear. This builds strong, positive associations to lengthier times in a harness.
Harness fear DOESN’T have to last forever!
By working these steps at your dog’s pace, you can get your dog over their harness fear with just 5-10 minutes of training per day. Please let me know in the comments if you have any questions. Happy training!
Video version:
Disclosure: Happy Hounds uses affiliate links. Purchasing with these links will not cost you any extra, but I get commissions for purchases made through these links. Affiliate links help me to continue to offer free resources & blog posts. I would love if you used them!
+ show Comments
- Hide Comments
add a comment