Most people, myself included, start teaching “leave it” indoors by placing a treat near our stationary dog while asking them to leave it alone.
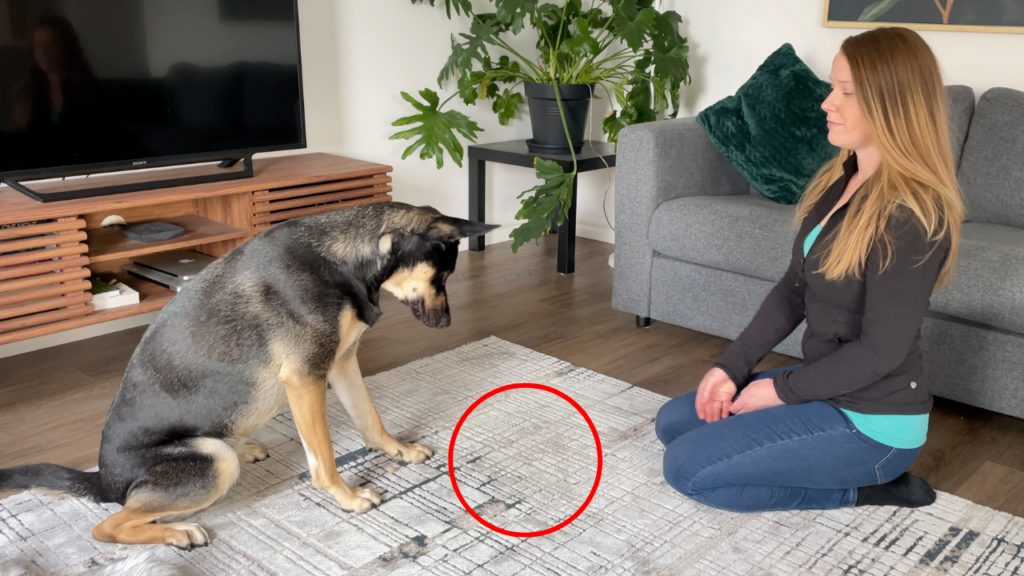
This is a great way to start conditioning the cue and to start building impulse control!
However, this doesn’t necessarily mean that “leave it” will work out on walks when your dog isn’t starting from a stationary position. I want to show you how to bridge that difficulty gap so that “leave it” solidly works on walks too.
Why bother with this training? There are a lot of unsafe items that your dog might find and eat on walks. Having a reliable way to verbally ask them to leave something alone could save their life.
Prefer video tutorials? You can also watch this training on my Youtube channel here:
What you’ll need for training an advanced leave it cue that works on walks:
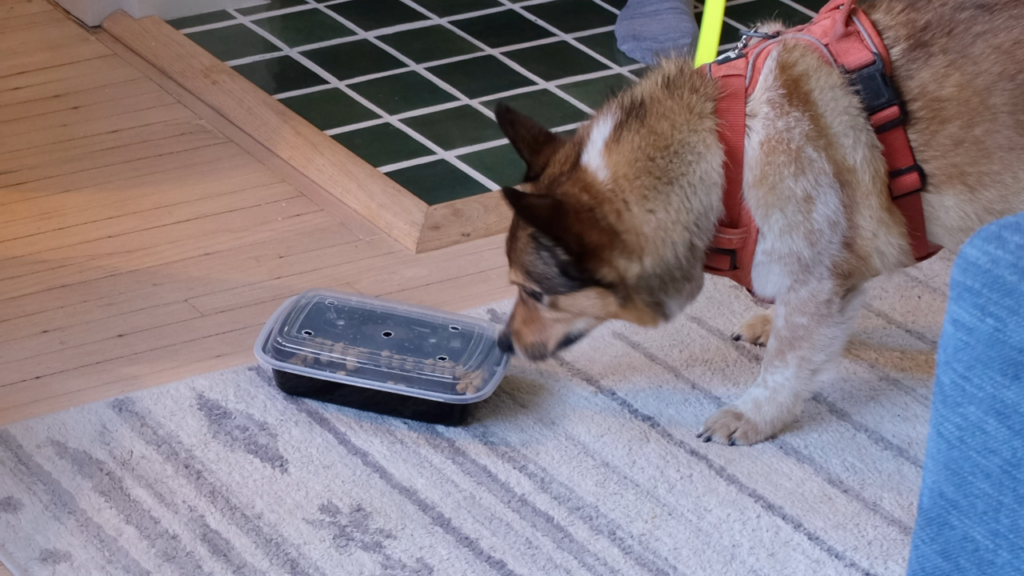
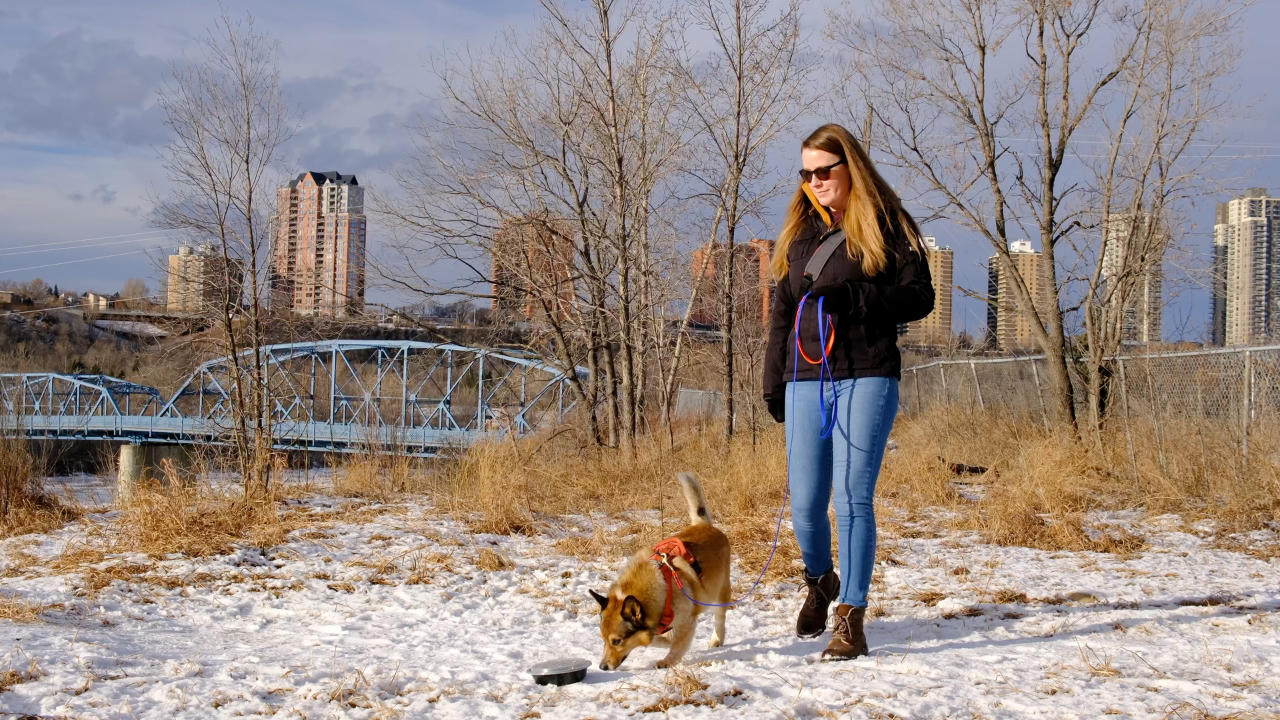
For this training I suggest using old takeout containers with holes drilled into the lids. This is important because you want your dog to be able to smell the food that’s inside, but not actually be able to get to it.
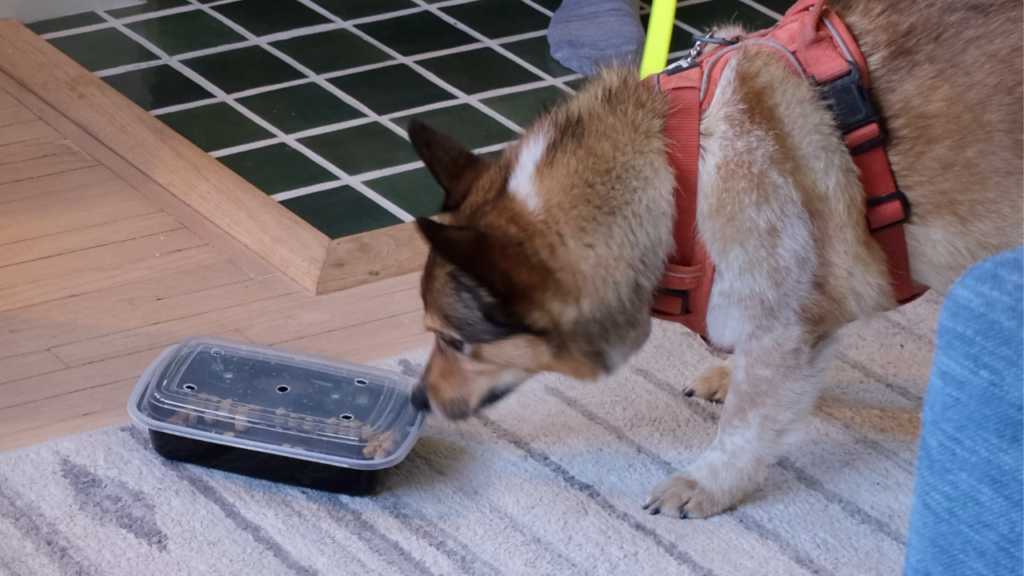
This is important when the dog is just learning because if they ignore your “leave it” cue and they actually get the food inside, they’ve been highly rewarded for ignoring the cue. At the beginning of training we want them to be able to smell the food, but not have real access to it. Once the training is more solid, we’ll take the lids off. That’s when you can be confident the cue will actually work in the “real world”.
You will also need a harness, long leash, and at least three different values of treat rewards for this training.
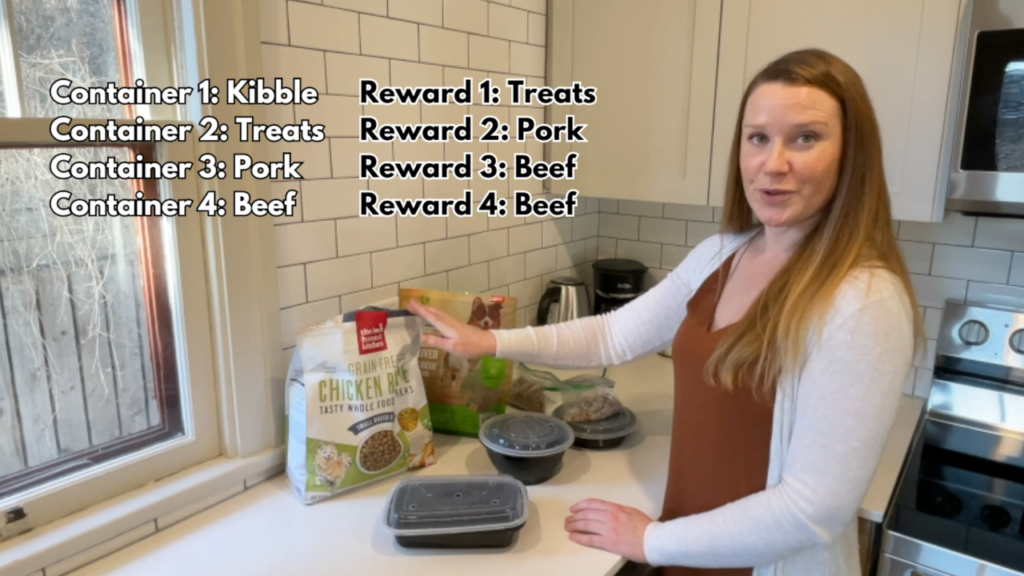
I suggest using 3-4 different containers and progressing the difficulty gradually so your dog solidly learns this new version of “leave it”.
For example:
Container 1 filled with kibble. Reward for “leave it” is liver treats.
Container 2 filled with liver treats. Reward for “leave it” is cooked pork chop.
Container 3 filled with pork chop. Reward for “leave it” is ground beef.
Two factors that impact the difficulty of leave it dog training:
It’s important to understand that there are two things that are going to make this harder for your dog regardless of which value item you’re using:
1) How close they are to the food. Obviously the closer your dog is to the container of food, the more tempting it is (and therefore the harder it is for them to listen to that leave it cue). When you start training, say the “leave it” cue when your dog is still a couple feet away from the container. Once that’s easy, progressively let them get closer. This helps break the steps down into something that’s more manageable.
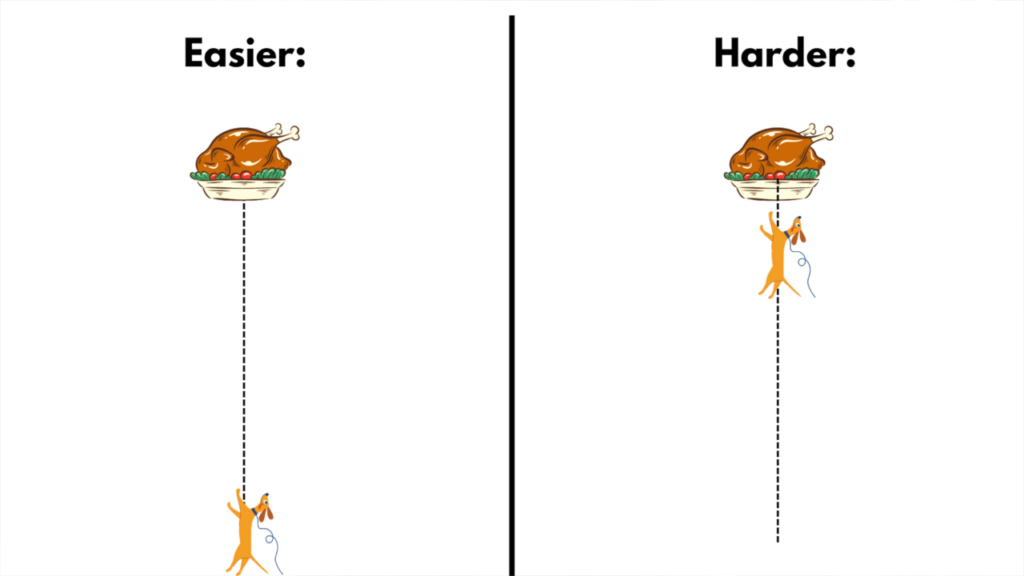
2) The other aspect that adds difficulty is how far away from you the dog is. For example, if the dog is close to the food and you’re standing 15 ft away, it’s going to be a lot harder for your dog to listen to the “leave it” cue versus if you’re standing right next to your dog as you say it.
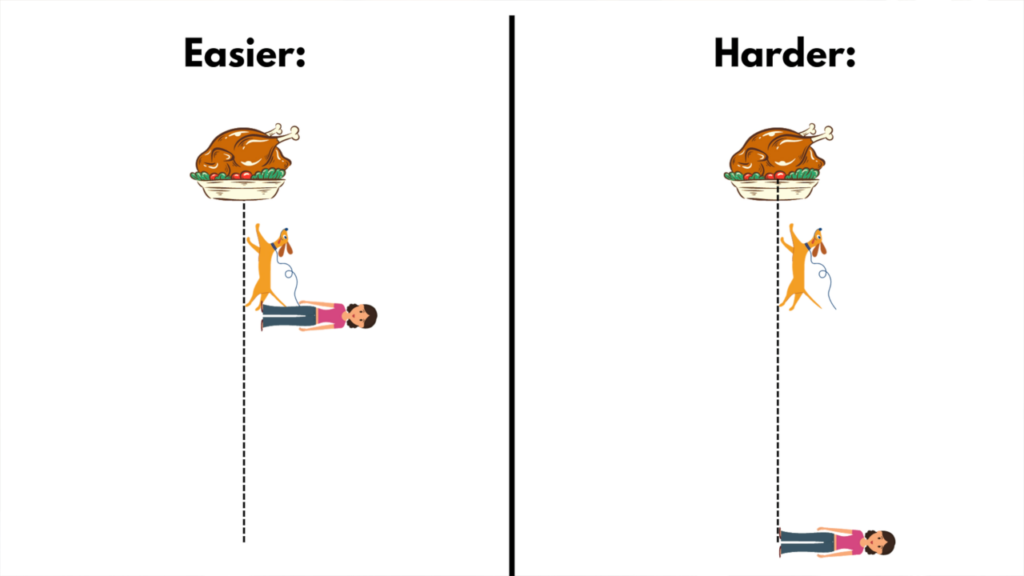
Keep those 2 things in mind as you progress through the training steps!
How to train an advanced “leave it” cue:
Step 1:
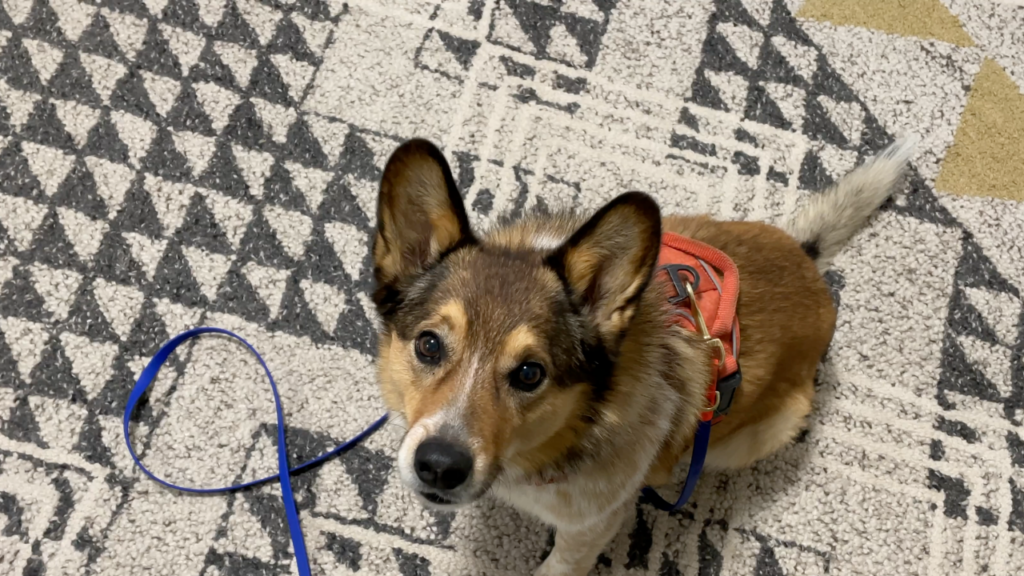
Prep: Fill your containers and hide the lowest value one somewhere in your house without your dog seeing it. Put a harness and leash on your dog so you can intervene if necessary. (If your dog ignores the “leave it” cue during any of this training, use this method to walk your hands up the leash and lure them away).
Step 2:
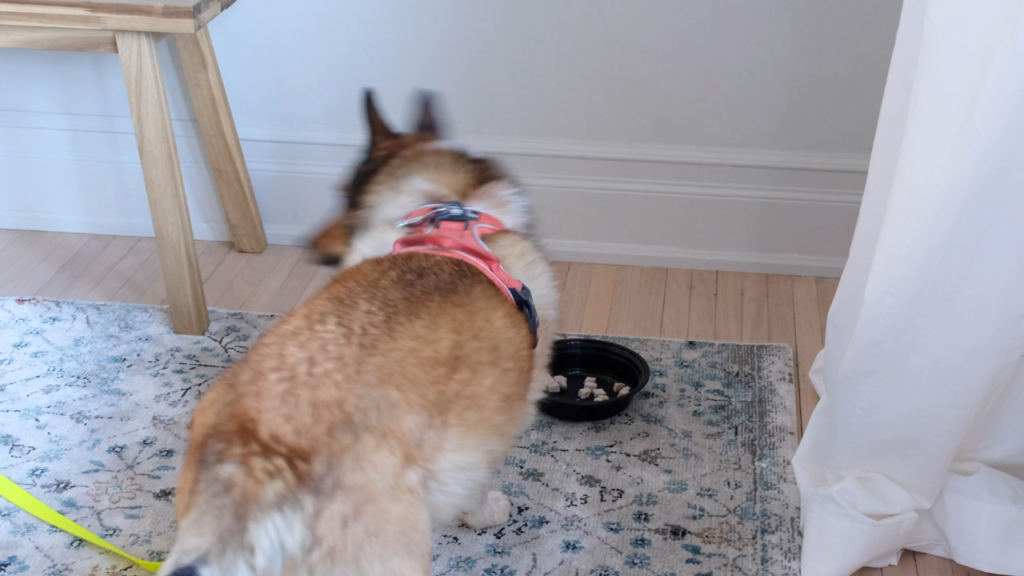
Next: Walk your dog over to that area and say “leave it” when they show interest in the container, but they’re still a few feet away from it. When they listen to the cue, say your marker word to signal that they got it right and then reward them. Take a break by walking around your house to reset your dog, and then slowly practice getting closer and closer to the container before cueing leave it. Once they can fully sniff it and still disengage when asked to, move to the next step.
Step 3:
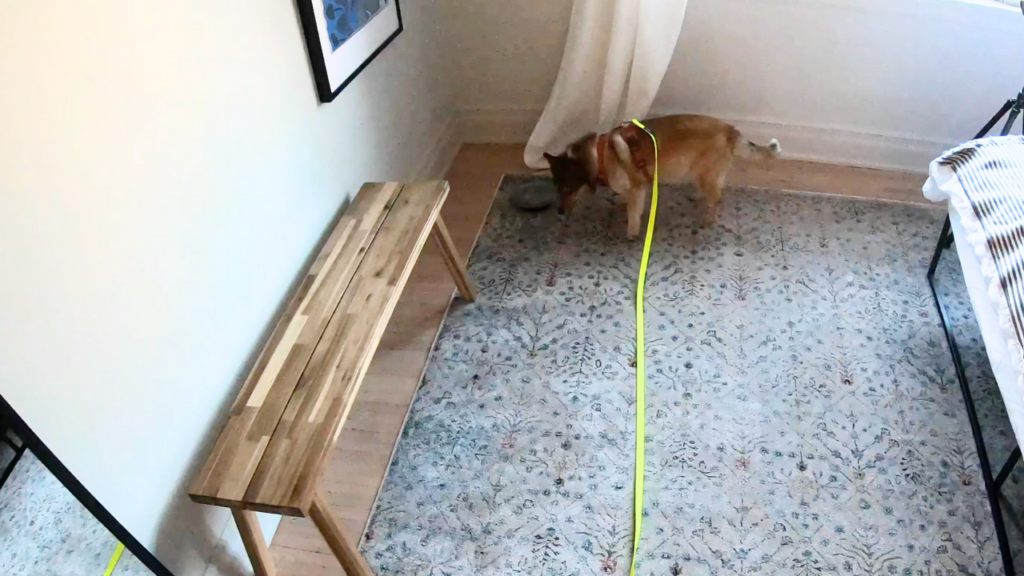
Increasing difficulty: Using the low value container still, start standing farther and farther from your dog as you cue leave it. When you can be ~ 10 feet away and the cue still works, progress to the higher value containers. Remember to increase the value of your reward at the same time so that your dog is always getting something better for listening to “leave it” than whatever is in the container. It’s also helpful to practice this in different rooms of your house to help your dog generalize the skill.
Step 4:
Real life: We’re training an advanced “leave it” so that your dog begins to listen to that cue with items they find on walks. In real life, there won’t be lids. Once your dog can listen to “leave it” from a distance with the highest value container, I encourage you to practice with the container lids off (start with lowest value item and some distance again). In real life they will have access to eating the thing that they’re interested in, so we need to train for that.
Taking advanced “leave it” training outdoors:
Now that you’ve progressed to open containers indoors, it’s time to practice the cue outside!
Step 1:
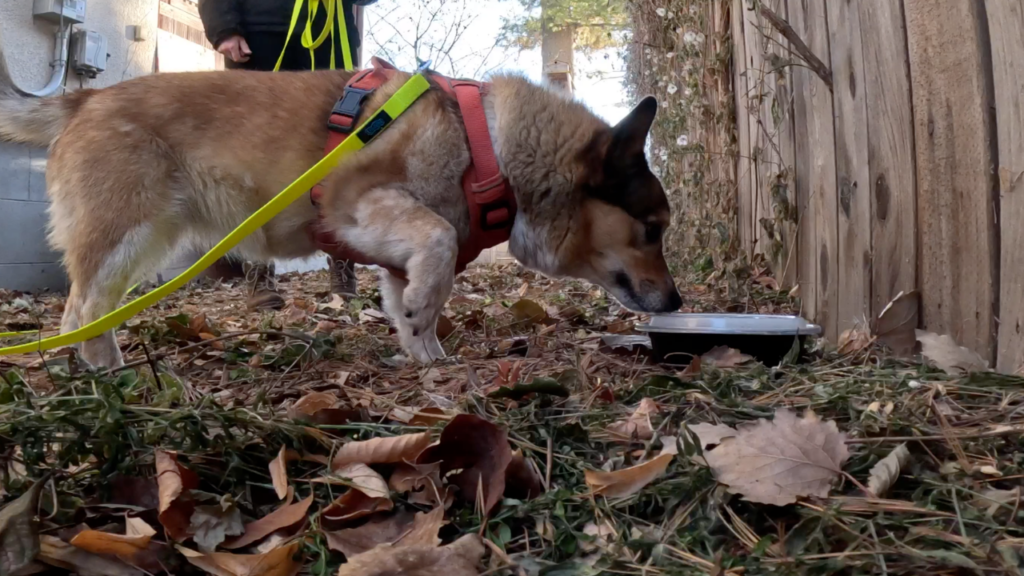
First, practice the entire process again in an un-stimulating outdoor setting like your yard. Go back to the start (easiest container, few feet of distance from food, you close by) and progress through all the same steps.
The more successful repetitions using the leave it cue the more listening to it becomes a quick, default behaviour. This is important when we use it in the real world with items that are really interesting to our dog. We want it to be an automatic response rather than something that they spend time considering!
Step 2:
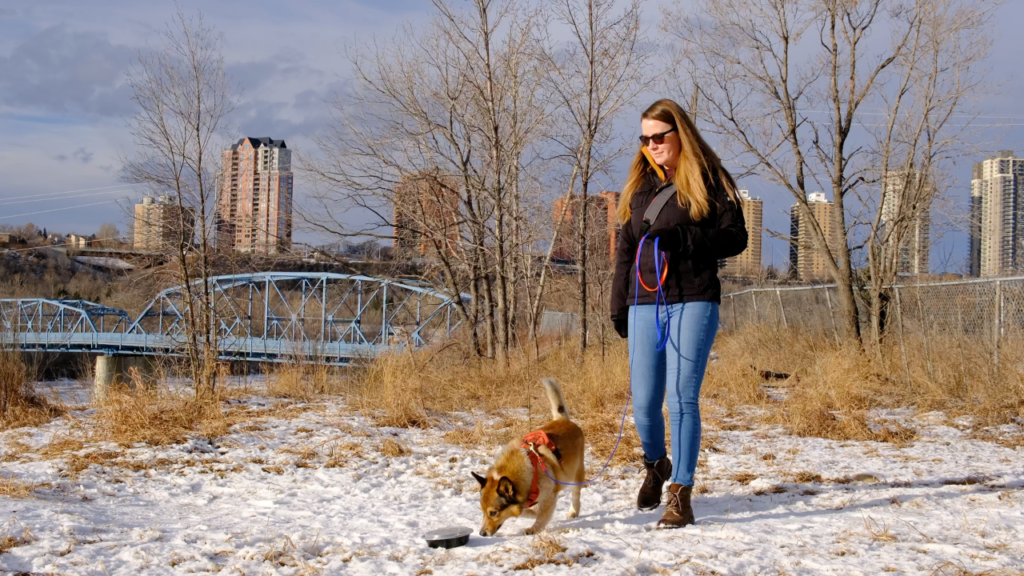
Once your dog is ready to try this game on walks, I usually just bring the two higher value distractions. It’s also really helpful if a second person can come on the walk, get a little bit ahead of you and your dog, and place the container somewhere without your dog seeing to make this training more like real life where they stumble upon something of interest. Initially start from a farther distance again, and then slowly let your dog get closer and closer before cueing.
Step 3:
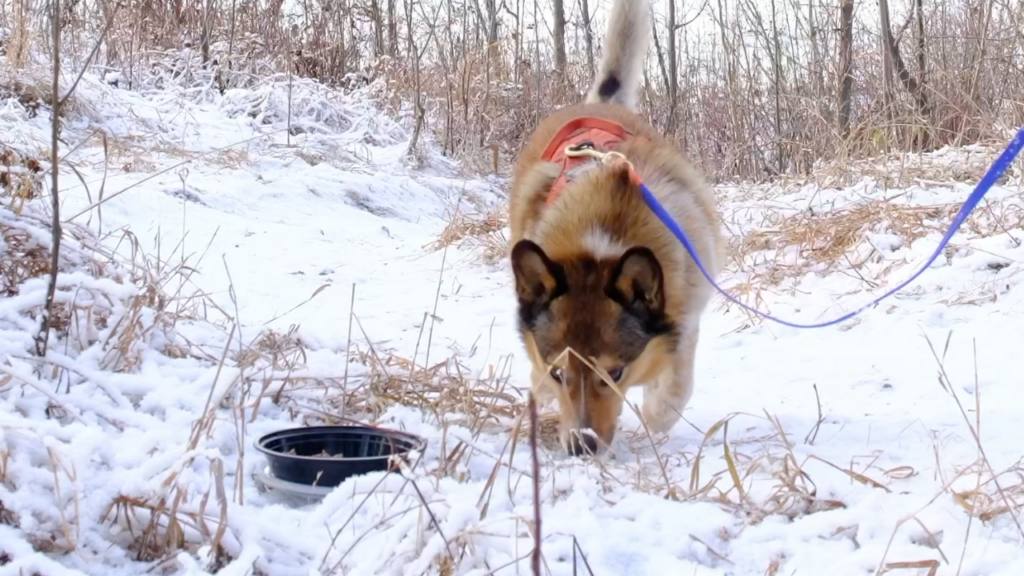
Out on walks there are going to be things that your dog finds before you see them, so it’s really important that you do let your dog practice in close proximity to the food. Initially start training with the lid on so that they can’t self-reward, and then again progress to having the lid off to emulate real life.
Once that’s easy, start practicing the cue with actual items your dog finds on walks. Remember to keep rewarding every time you use the cue.
Want to improve your walks even more?
This comprehensive program will teach you my 6-week process to dream dog walks!
Regardless of whether you have a new puppy OR an older dog with a long history of pulling on leash, this program is for you.
Rather than just giving you a bunch of random leash training tips that you need to stitch together yourself, I wanted to create a step-by-step learning process for you. The leash training is broken down into easy-to-follow weekly assignments. There is also a checklist at the end of each week, so you’ll know if your dog is ready to progress.
Find out more about it HERE
Happy training 🙂
Disclosure: Happy Hounds uses affiliate links. Purchasing with these links will not cost you any extra, but I get commissions for purchases made through these links. Affiliate links help me to continue to offer free resources & blog posts. I would love if you used them!
+ show Comments
- Hide Comments
add a comment