


")
")

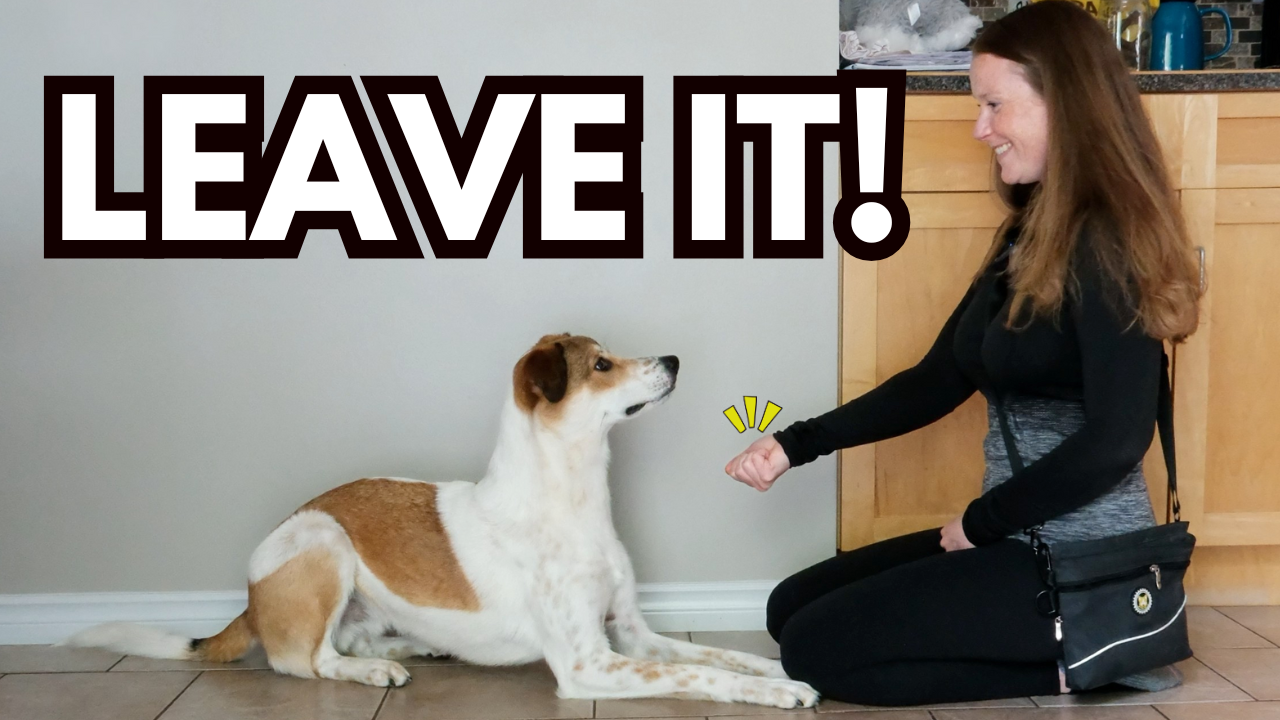
As a professional dog trainer, “Leave it!” is the skill I think every dog should learn.
A dog with great impulse control can see a temptation and still pause, think, and make a smart decision -rather than just acting impulsively. However, many dogs start with very little impulse control. They may steal food, chase after things they shouldn’t, or scavenge on walks.
One of the most important obedience cues you can teach your dog to address these behaviours is “Leave it!”
What does “Leave it!” mean?
The “leave it!” cue tells your dog not to go after something that catches their interest.
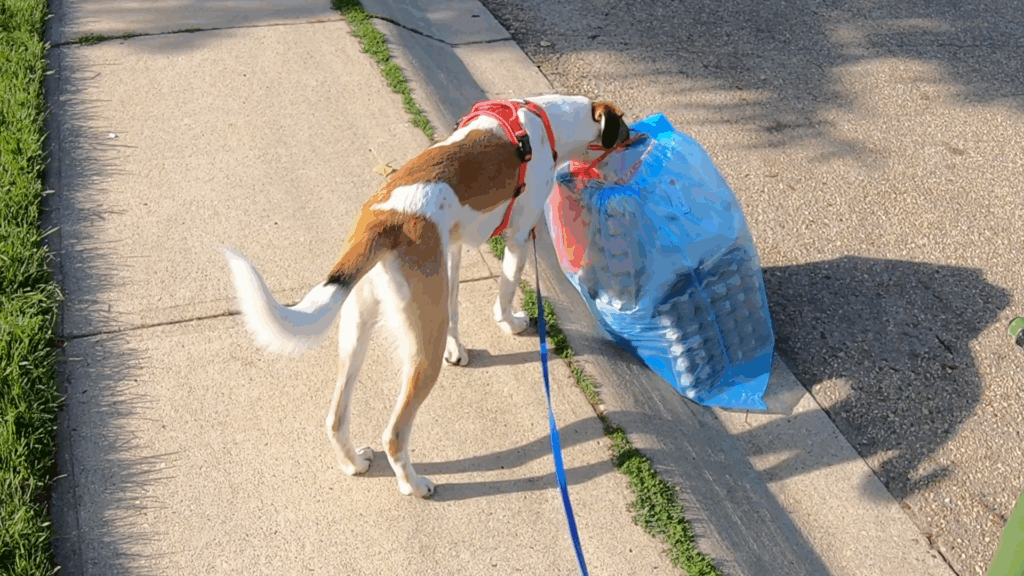
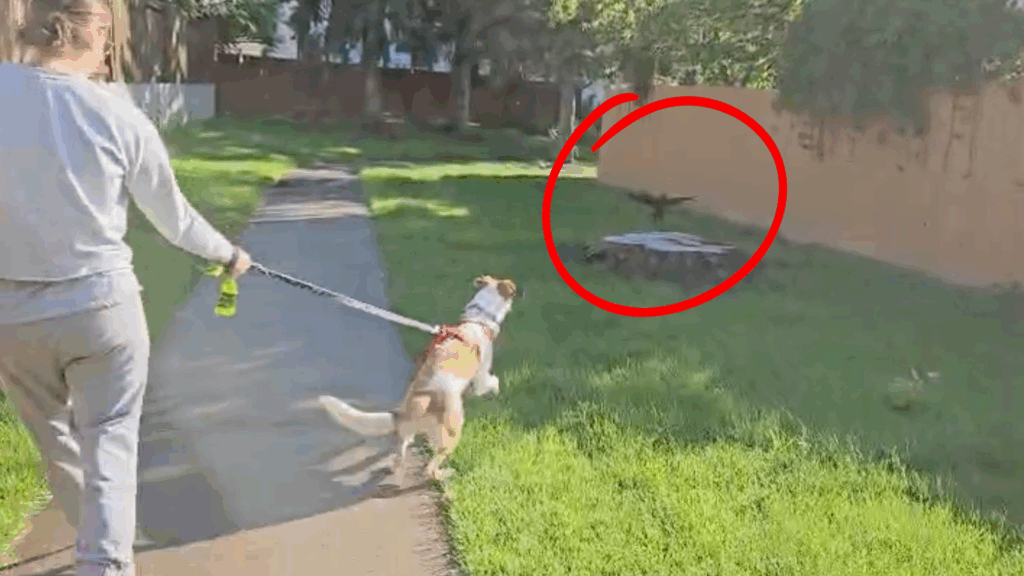
It can be used for food on the counter, trash on the ground, animals your dog might want to chase, or anything else you want your dog to ignore.
Dogs are naturally curious, but not everything they’re interested in is safe. Training your dog to “Leave it!” gives you a verbal tool to protect your dog and keep them safe. And teaching this cue is simpler than most people think!
Here’s a step-by-step guide to train your dog to reliably respond to “Leave it!”.
Prefer video tutorials? Watch this on Youtube instead:
What You’ll Need for “Leave It!” Training:
To train your dog to “Leave it!” you’ll need two things:
- Multiple types of treats: You’ll need a low-value treat as a distraction, and a higher-value treat as a reward. This helps your dog learn that ignoring something tempting gets them an even better reward. Make sure you understand your dog’s preferences so you know what counts as high or low value for them!
- A loaded marker word: This is a word like “yes” that you say the moment your dog does something right. It signals that a reward is coming and helps your dog learn more quickly.
Both of these tools are essential for effective “Leave it!” training. To learn how to test your dog’s food preferences and load a marker word, read THIS:
Leave it Training Step 1: Un-Cued Impulse Control
This step focuses on teaching patience without using a verbal cue yet. It’s especially useful for households with children, as it discourages stealing food from hands.
How to train this:
- Hold a treat in your closed fist and present it to your dog. Your dog may paw, lick, or nibble at your hand. Hold your hand steady.
2. As soon as your dog pauses or backs away, mark the behaviour with “yes” and give the treat!
Tips:
- If your dog’s mouthing hurts, use a low-value item like lettuce so that you’re dog has minimal interest in it and disengages quickly. Then, gradually increase the value of the distraction.
- Be patient—some dogs may disengage in 10 seconds, others may take a minute. Consistency is key!
- Once your dog reliably resists trying to take that treat from your hand, gradually increase the disengagement requirements to 3–5 seconds before giving the reward.
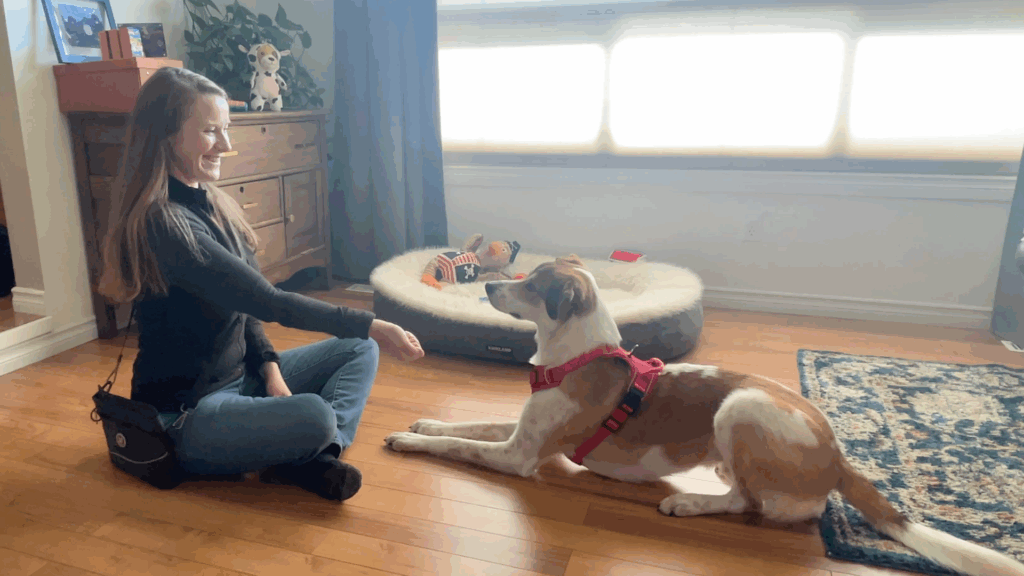
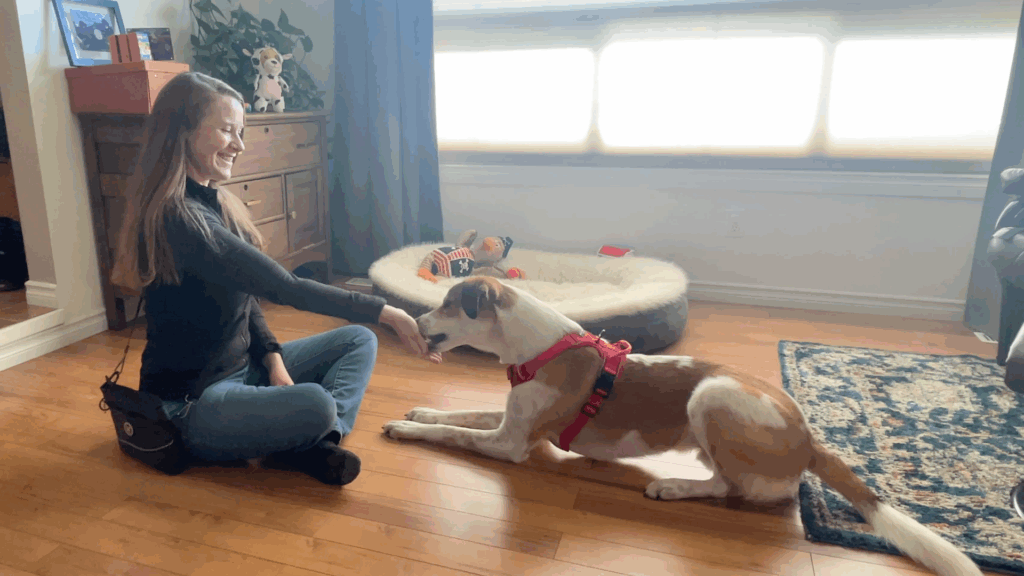
Leave It Training Step 2: Introducing the “Leave it” Cue
Now it’s time to teach your dog what “Leave it!” actually means. You’ll need two types of treats for this: low-value for the distraction and high-value for the reward.
How to train this:
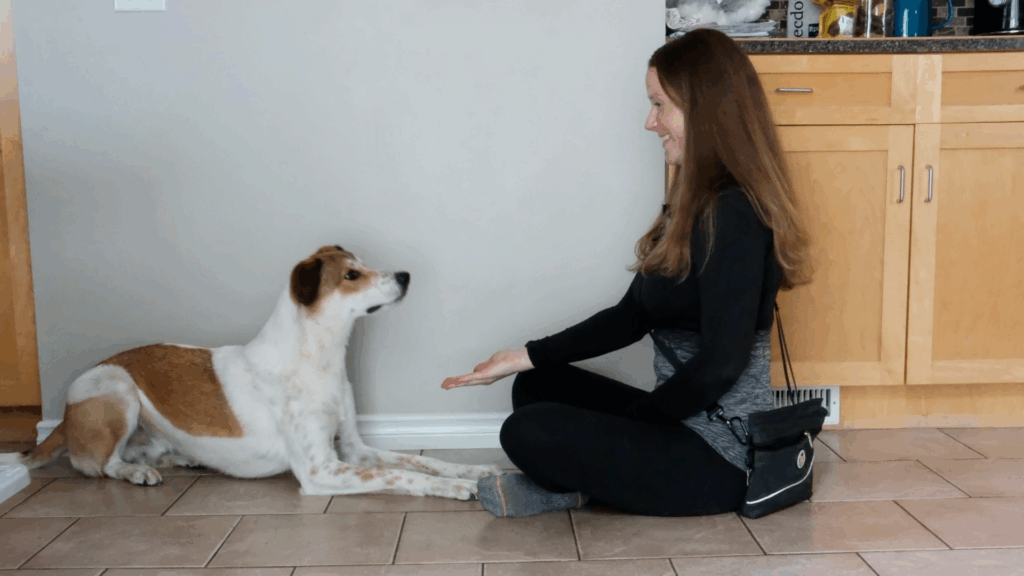
- Present the low-value treat in an open hand and say, “Leave it!”
- If your dog goes for it, close your hand to prevent access. Wait a few seconds and try again.
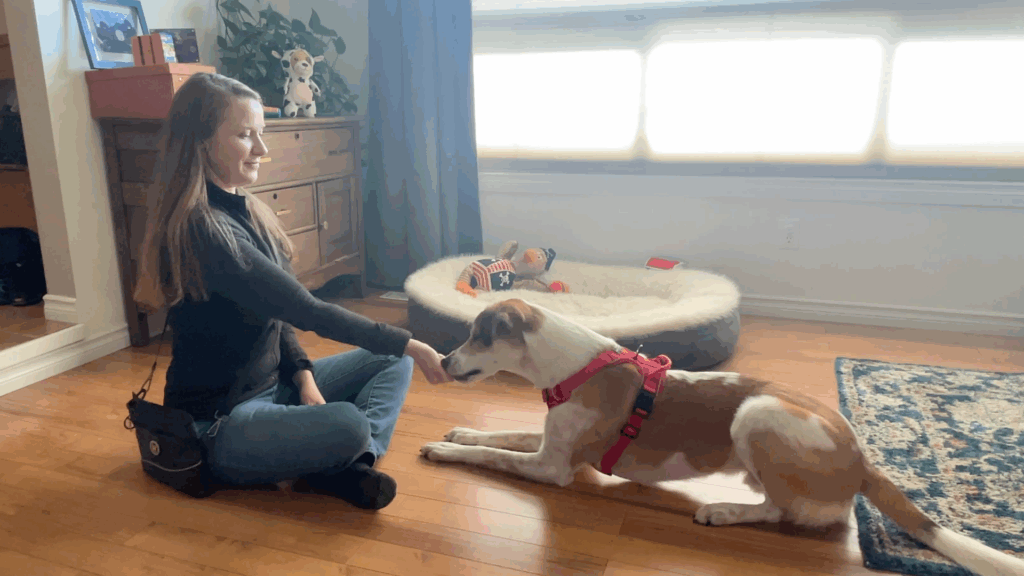
- When your dog ignores the treat, mark “yes” and give the high-value reward from your other hand.
Quick tips:
- Say the “Leave it!” cue once—don’t repeat it.
- Never punish mistakes; just reset and go back a training step if needed.
- Keep sessions short (5–10 minutes) and fun! This should feel like a game for your dog.
Practice until your dog consistently resists the open-hand temptation before moving on.
Leave it Training Step 3: On-the-Floor “Leave it” Training
Next, practice with treats on the floor.
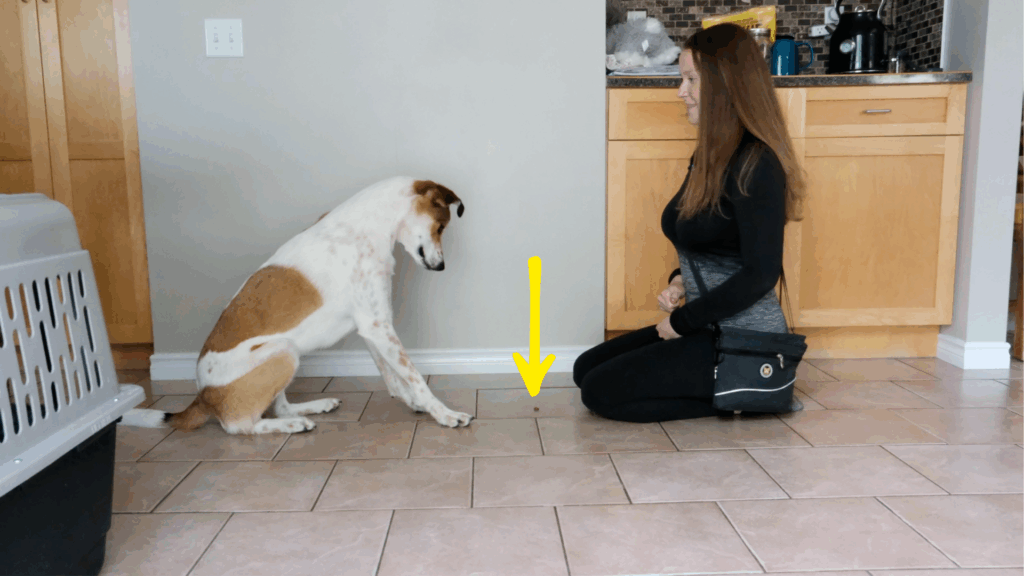
How to train this:
- Place a low-value treat on the ground near you and say, “Leave it!”
- If your dog ignores it, mark “yes” and give the high-value treat from your other hand (while picking up the floor treat).
- If your dog goes for the floor treat, cover it with your hand and try again.
- Gradually move the treat closer to your dog. Be extra cautious when you pass the centre line as it’ll be more difficult to block your dogs attempts at stealing.
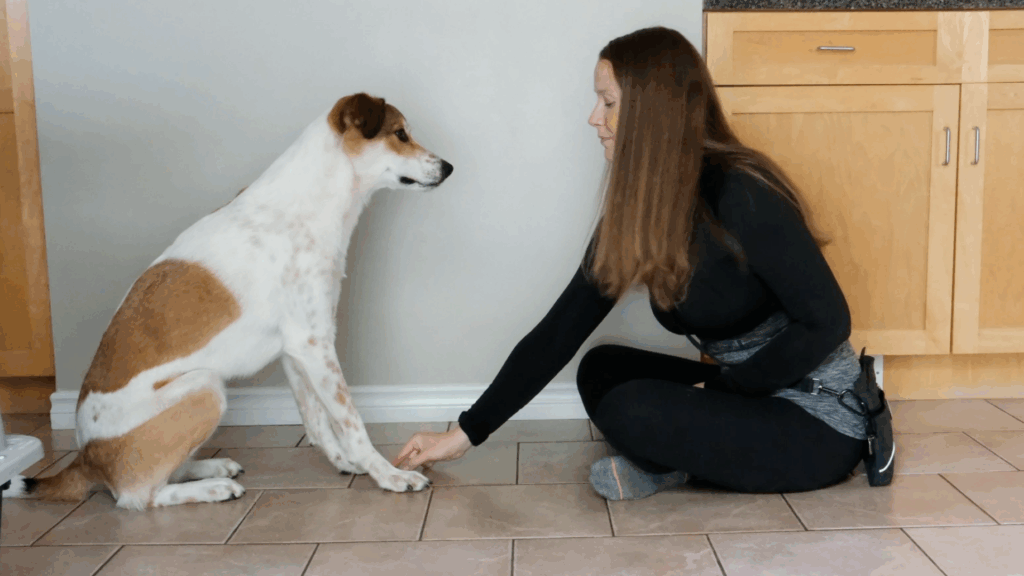
The goal is for your dog to ignore a treat placed between their paws. Then you’re ready for step 4!
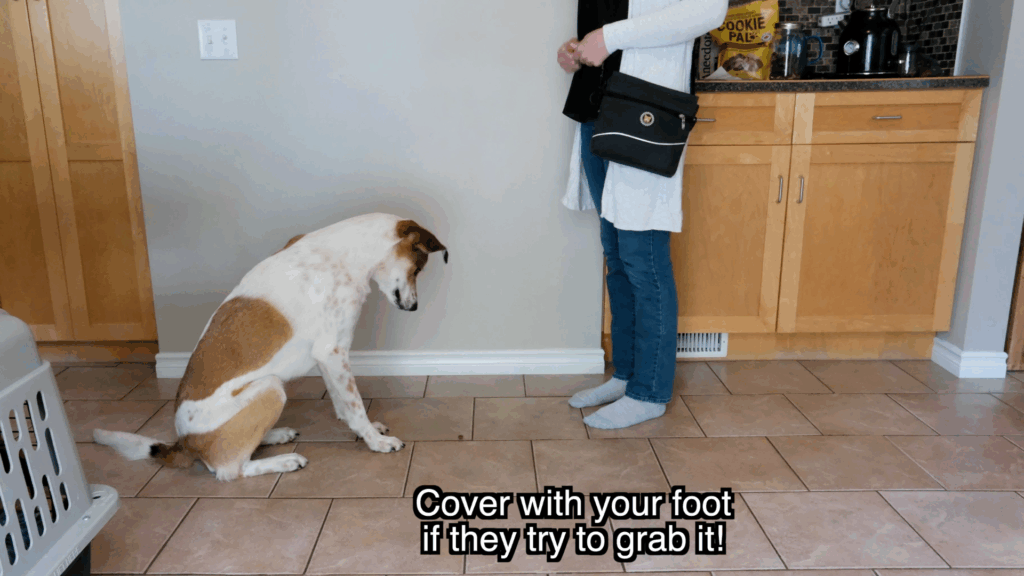
Leave it Training Step 4: Adding Movement
To make the “Leave it” skill practical in real life, you must introduce movement. Why?
Squirrels run, food falls off the table, trash blows in the wind…Interesting things usually move!
How to train this:
- This time, rather than just placing the treat on the ground, instead toss the low-value treat on the ground.
- The movement will trigger your dogs chase instincts, so start with the treat close to you, then follow the same progression as Step 3, gradually getting it closer and closer to your dog.
- Once your dog can ignore a treat tossed between their paws, start practicing in a standing position. When that’s easy, move to step 5!
Leave it training Step 5: Generalizing the Skill
Dogs aren’t great at generalizing skills without some help. They might understand what leave it means in the dining room where you practiced, but they still might not understand the same cue in the living room or by the front entrance. By practicing in different areas around your house, you’ll help your dog to solidify the “Leave it!” cue as a universal concept, not a location-specific trick.
How to train this:
- Practice in multiple areas of your home.
- Gradually introduce the cue outdoors.
- Remember: You’re asking your dog to ignore something they’re interested in. Make sure you reward every successful “Leave it!” request to keep this skill strong.
Training your dog to “Leave it” takes patience and consistency, but it’s incredibly rewarding. This cue can prevent your dog from eating dangerous items, it can stop unwanted behaviours like counter surfing, and it can even be used to stop animal chasing!
For more advanced training using the “Leave it!” cue, check out these tutorials next:
- Distractions and temptations during walks
- Food stealing and counter-surfing
- Prey drive or animal chasing. Check out my guide for that linked below!
Happy training! 🙂
Disclosure: Happy Hounds uses affiliate links. Purchasing with these links will not cost you any extra, but I get commissions for purchases made through these links. Affiliate links help me to continue to offer free resources & blog posts. I would love if you used them!
How to Train Your Dog to LEAVE IT – Fast & Easy Method!
About the author:

")

")
")
")


+ show Comments
- Hide Comments
add a comment